Plumbing rough-in is the initial stage of any plumbing installation in a household. It’s the stage of construction where vents, supply lines, waste lines, sewage systems, and connections go into place before installing flooring and drywall.
Plumbing rough-in requires careful planning as it relays the plumbing of the new construction with the area’s main supply and waste systems. Testing is also crucial to ensure there are no leaks before moving on to the next stage of construction.
A rough-in is crucial to the successful installation of a new plumbing system as it provides the components and structure needed for proper functioning. It’s also an investment for the future as it prevents maintenance issues and extends the service life of pipes and fixtures.
Today’s article walks you through the steps of plumbing rough-in and highlights common mistakes to avoid while working.
The Plumbing Rough In Process
A plumbing rough-in involves several steps. The following is a simple breakdown of the process:
Preparations for Plumbing Rough In
Plumbing rough-in starts with a preparation stage to ensure the smooth running of the entire process. It generally consists of 3 aspects:
1. Site inspection
A site inspection kicks things off to make sure that your operation is in a suitable location according to the building regulations in your area.
This step should be in conjunction with the initial construction plans, complete with a permit signaling the OK for you to start the process.
2. Creating a plumbing plan
Next, comes the most annoying yet important part of the rough-in. The purpose of a plumbing plan is to avoid working blindly, which only wastes time and resources and results in a load of mistakes.
You can’t visualize the plumbing system and where all the piping will go without a plan. It provides a solid framework for the installation that everyone can follow and refer to if any confusion arises.
Not to mention, your rough-in will never be approved to start if you don’t propose a plan to show you know what you’re doing.
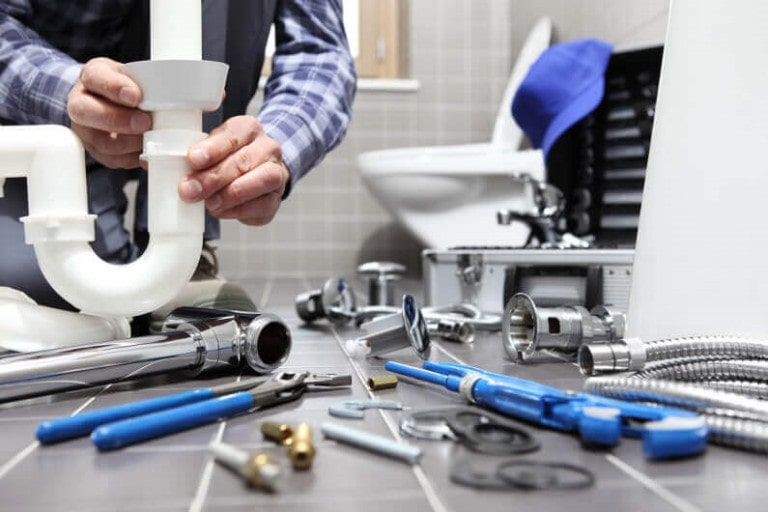
3. Gathering necessary tools and materials
You don’t have to wait for the approval of your plumbing plans to collect the tools and materials for the job; you can gather them before or after.
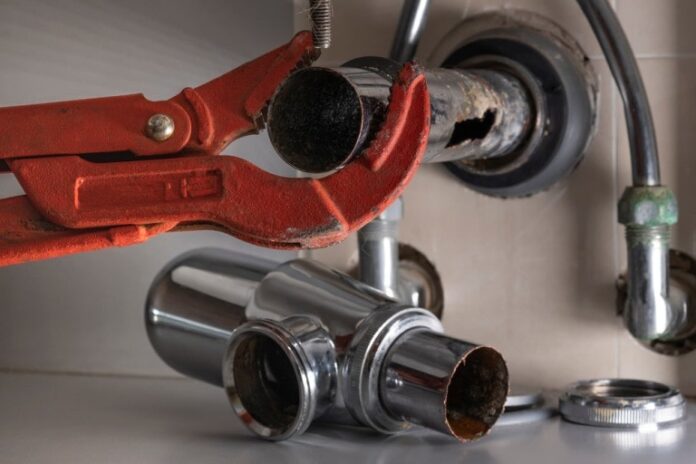
From pliers and metal files to vent/waste/supply pipes, shut-off valves, and drain traps, be sure to have all the necessary items ready to go.
Marking and Cutting the Pipe Openings
Once your rough-in gets the thumbs up, you can start working right away.
Start by pinpointing the spot where the toilet(s) will stand. Mark the center of that spot on the wall and measure 13.5 inches out from that point.
Leave a mark at the measured point on the floor for the toilet flange. Then, center the actual flange over the mark and outline the outside of the ring.
After that, cut out the traced line to make a hole for the flange. Set the flange in the hole, making sure the elongated spots are well-placed against the ground.
Bolt and screw the toilet flange to secure it in position. You can add shims for leveling as needed.
Wrap up this step by marking and cutting any other pipe openings for your drain pipes, vent pipes, and so on.
Installing the Drain and Vent Pipes
Next, you need to install the vent and drain pipes. These must go under the flooring, which shouldn’t be a problem considering there’s no floor in the rough-in phase, only subfloors.
Also, be sure to direct the drain pipe towards the primary wastewater pipe to form a DWV or drain-waste-vest (also known as waste stack).
Installing the Water Supply Lines
Once you connect to the sewer line, you can connect the system to the main supply line.
Run your water supply lines through the floor or wall; whichever way they come out closest to the side of the toilet-tank supply fixture and other spots they’re needed.
Finally, install your valves and shut-off switches.
Common Mistakes to Avoid
Here are some of the most common mistakes that lead to inspection failures. Familiarizing yourself with these mishaps helps you avoid them and boosts your chances of passing the inspection:
Improper Pipe Sizing
Each type of drain requires a specific pipe size to optimally perform its function. Be sure to stay up-to-date on the current plumbing code.
Misaligned Pipes
Piping misalignment can cause leaks and various maintenance issues that prevent the plumbing system from functioning properly.
Improper Slope or Grade
Gravity is the key component of drainage. The wastewater line has to be sloped downward enough to allow efficient draining, but not too steep that drainage is too quick.
If the pipes aren’t angled sufficiently downward, you’ll end up with slow drainage, leaks, and backups. Over time, an improper slope can severely damage your plumbing system.
Failure to Install Proper Fittings and Connections
Choosing the wrong type of fitting and connection will result in a faulty system. This can lead to pressure problems, leaks, drainage issues, and pipe damage due to excessive stress.
You want the fittings and connection to be watertight, but not too tight. That would break it.
Failure to Follow Local Building Codes and Regulations
This a classic mistake for many DIYers as they miss the memo about the latest updates to local building regulations and codes, or fail to remember they exist.
Benefits of Hiring a Professional Plumber
If you’re thinking about hiring a professional plumber to do your plumbing rough-in, I’d say you’re on the right track. Here’s what a plumbing expert can do for you:
Knowledge and Expertise
A professional plumber has probably done the same job multiple times before. They have the right type and amount to experience and skills to complete your rough-in properly.
Proper Tools and Equipment
A professional plumber knows what tools and materials to use for a rough-in, and has them on hand. They’ll use the right equipment for the project to make sure it’s done right.
Timeliness and Efficiency
Because they know what they’re doing and how to do it, professional plumbers won’t waste time wondering what goes where or which tool to use. They’ll be as quick and efficient as possible, saving you time and resources.
Warranty and Insurance
Finally, with a professional plumber, you get a guarantee of a job well done accompanied by a generous warranty period should anything go wrong.
Additionally, insurance claims are far more legit when the work is done by a professional.
Conclusion
Plumbing rough-in starts with marking and cutting holes for the flange and pipes. Then, you move on to installing the drain traps and vent pipes. After that, you finish by installing the water supply lines, valves, and shut-off switches.
Without a rough-in, it’s impossible to integrate a plumbing system into any building. It ensures proper functioning, prolongs the system’s service life, and prevents maintenance issues.
The best decision you can make is to hire a professional plumber to do your rough-in. You’ll save yourself time, effort, and money trying to meet the building codes and regulations.