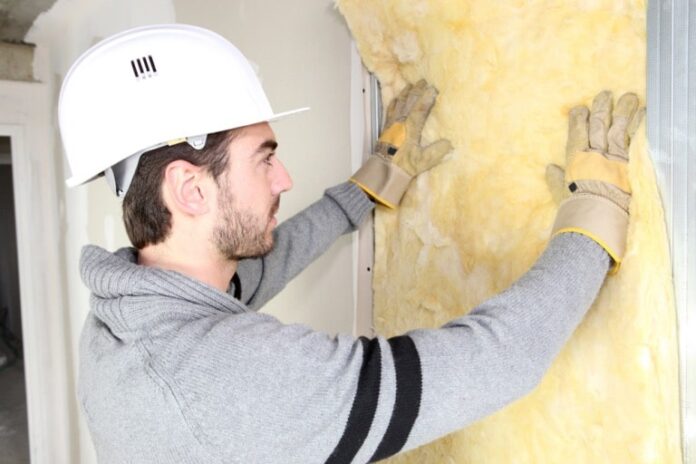
Have you ever experienced a chill that penetrated your walls despite your best efforts to maintain a warm temperature? Installing insulation on the interior walls can improve your home’s comfort level and energy efficiency.
With the right approach, this project can be straightforward and highly effective. This guide will break down the essential steps and tips for installing internal wall insulation.
1. Preparation
Begin by clearing the area around the wall you plan to insulate. Remove any furniture, decorations, or fixtures that might be in the way.
Next, check the wall for any damage or moisture issues, as these need to be fixed before installing insulation. Gather the tools and materials you’ll need, such as insulation material, a utility knife, a tape measure, and adhesive or fasteners. Proper preparation helps ensure a smooth installation process and a better result.
2. Choose the Right Insulation Material
Common options include fiberglass batts, foam board, and spray foam. Fiberglass batts are easy to install and good for standard wall cavities, while foam board offers higher R-values for better insulation. Spray foam can fill gaps and provide excellent air sealing but requires professional installation
Consider factors such as thermal performance, ease of installation, and budget when choosing your material. The right insulation will improve energy efficiency and comfort in your home.
3. Measure and Cut Insulation
Measure the wall area where you’ll install the insulation. Use a tape measure to get accurate dimensions of the wall cavities or spaces between studs. Once you have the measurements, cut the insulation material to fit.
For batts or rolls, use a utility knife to trim the pieces to the correct size. If you’re using foam board, cut it carefully with a saw. Properly cut insulation ensures a snug fit and helps to achieve effective thermal performance.
4. Prepare the Wall Surface
Before installing the insulation, prepare the wall surface. Clean the wall to remove dust, dirt, and debris that could affect the adhesive or insulation’s performance. If there are any gaps, cracks, or holes, fill them with appropriate sealant or filler.
Make sure the wall is dry and free of moisture, as damp surfaces can lead to mold or reduce insulation effectiveness. Preparing the wall surface ensures that the insulation adheres properly and performs as expected.
5. Install the Insulation
Install the insulation by placing it into the wall cavities or spaces. For batts or rolls, fit the insulation snugly between the studs, ensuring there are no gaps or compression. If using foam board, apply adhesive or fasteners to attach the boards securely to the wall.
For spray foam, follow the manufacturer’s instructions and apply it evenly to fill the wall cavities. Proper installation helps maximize the insulation’s effectiveness in keeping your home warm and energy-efficient.
6. Seal and Finish
After installing the insulation, seal and finish the wall. If you used batts or foam boards, cover the insulation with drywall or another finishing material to complete the installation.
Tape and mud any seams between drywall sheets and sand them smooth for a seamless look. If using spray foam, trim any excess once it has cured and then cover it with drywall or other finishing materials.
Proper sealing and finishing ensure that the insulation performs well and provides a clean, professional appearance.
Ensure Continued Efficiency and Comfort
Installing internal wall insulation is a valuable investment in your home’s energy efficiency and comfort. Ensure continued efficiency and comfort by taking care of your insulation installation. For high-quality insulation products and expert advice, consider exploring options from Pricewise Insulation.
